This should technically be Part 2, as my first lesson about DIY invitations was
spelling msitakes and proofreading the sh*t outta them to be sure there are none!
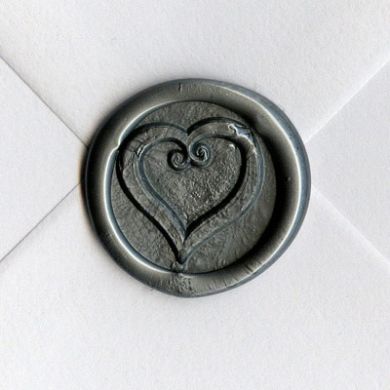
However, let's call it Part 1 nonetheless because this past long weekend, I spent an hour every day fitting the pieces all together. And by "pieces" I mean: writing addresses on envelopes, indicating the number of reserved seats on the RSVP card, and adding the final touch of a custom designed stamp on the back of the envelope. Sounds easy enough, right?
Riiiight.Writing AddressesI decided to get all fancy shmancy and purchase a calligraphy pen at a local paper shop.
Just a side note - this particular store is located in the business district of Toronto, which means $$$. At first glace the only calligraphy pens they had were over $150. Pffft. When I asked a saleswoman for a more affordable pen, she showed me one for $90. Again, I asked "Is there anything more affordable?" That's when she half-assedly directed me to a wall of pens for $14. In my head: "WTF didn't you just show me this to begin with?" But I digress...I have, what most people consider, nice hand writing. So when it came down to who would be writing the addresses, all fingers pointed at me (mainly from Office Groom). I was glad to do it, since I loved doing calligraphy as a kid, and I take pride in my neat writing. So with my brand new
$14 pen in hand, I started the job. Everything was smooth sailing... until I messed up a name. Damn. And then I messed up an address. Damn damn. And then I was holding the pen incorrectly and it wasn't calligraphy so much as it was just ink scratches. Sigh.
 Using Ink Stamps
Once the addresses were completed, the invites were inserted, and I started on the custom stamp on the envelope. That part was really easy. I took a few lessons from Etsy seller
AssPocket Productions and learned the ideal way to get ink on the stamp using her
on-line tutorial. It's the sealing of the envelope that proved to be more difficult. Not wanting to pull a "Susan," Office Groom used a damp cloth to wet the envelope glue. Unfortunately, with a just a bit too much water, you end up with this:

The ripped up paper is a result of me reopening the envelope in frustration to remove the invitation card. Office Groom said that it wasn't so bad, and I just gave him that look that says "Really?" He left me alone to produce a new envelope, lol.
What I learned: Patience is a virtue. I was exctied to get through as many as possible, but speeding along won't save you time in the long run. So -
take your time! Don't it all in one sitting either. I found taking an hour here and there was less stressful. And lastly, having a very clean and clutter free surface to work helps a lot. Chances are it will get cluttered with all the invitation materials anway, so may as well have a clear workspace to begin with.
Part 2 coming up soon!